Hot Keys
Getting Started
Getting Started with Hot Keys
Hot Keys are a more traditional and legacy method of adjusting Lightroom Sliders, similar to how Pfixer worked.
Hot Keys have a pair of mapped keys for each Lightroom slider. One to increase(+) and another to decrease(-) the slider.
As shown in the photo below, Hotkeys have two columns with the titles – Hotkey and + Hotkey. This is where you can map your custom keys to both decrease (– Hotkey) or increase (+ Hotkey) your Lightroom slider/parameter.
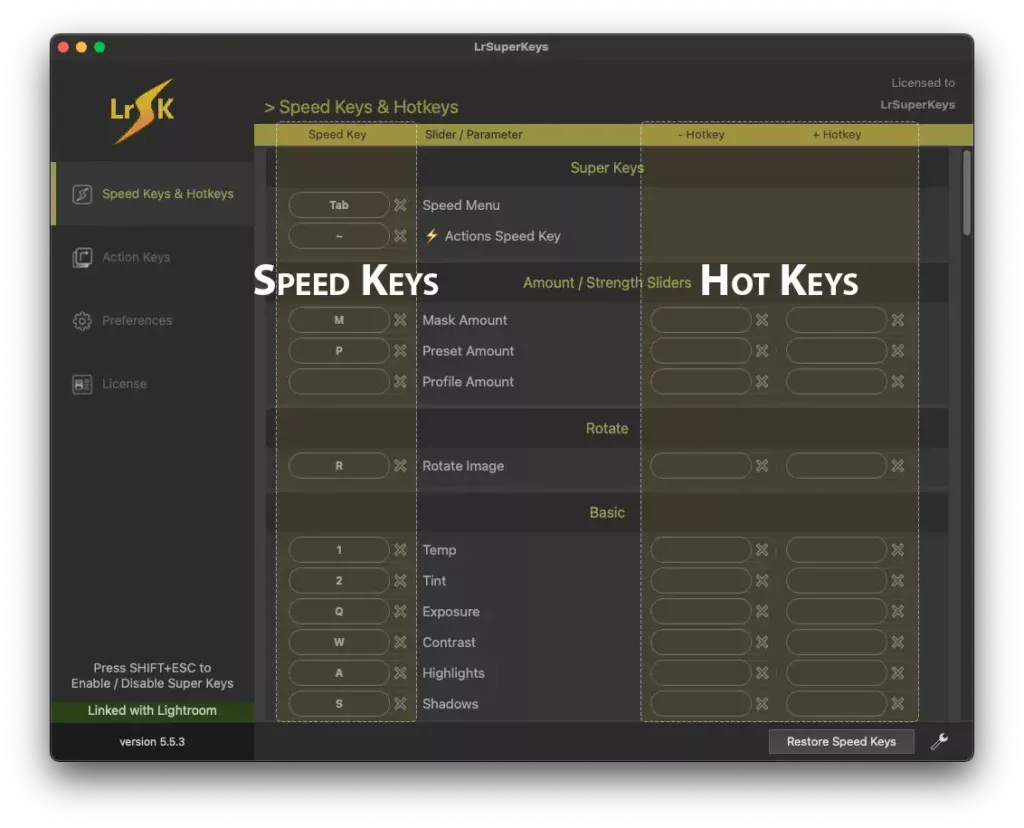
With a pair of keys mapped to a slider, you can easily make adjustments by tapping the assigned + Hotkey and – Hotkey.
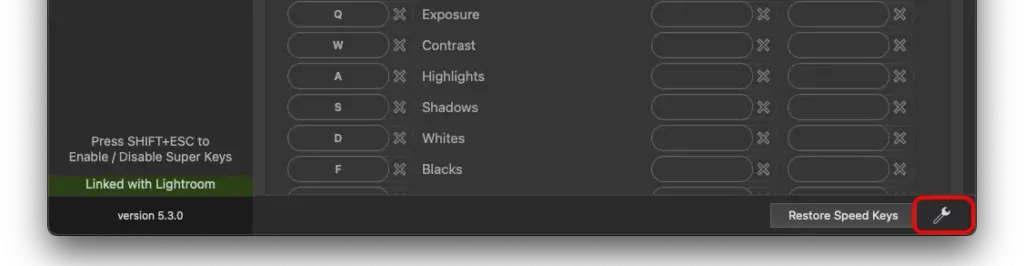
The SHIFT key can also be used in combination with HotKeys to enable alternate changes. The amount of change can be customized by clicking on the “wrench” icon located in the bottom right. You may also swap all the standard and alternate change values by selecting the “swap change values” checkbox, found on the Preference page.
Hotkeys can be beneficial if you are coming from and have memorized another key mapping software. However, this method requires you to memorize twice as many keys as using Speed Keys.
Mapping Hot Keys
To change or map a new key, simply click on the Hot Key entry box for the slider you want to map. You will see that once you click on the entry box, it will be highlighted yellow. Go ahead now and press the key you want to map to either increase or decrease the slider.
Mapping a key to a HotKey will override the default behavior for that key. For example, if you mapped Q & W to decrease and increase exposure, you will no longer be able to tap Q & W to perform the default Lightroom actions which are Spot Removal Tool and White Balance Picker Tool respectively. But, we do have a solution for this, and that is by creating your own custom Action Keys that map tools, presets and so much more to a single key press.